How to Create a Slack App, Get Bot Token & Channel ID (Complete Guide)
Table of Contents
To send automated messages to a Slack channel (for example from a plugin or admin interface), you need two essential values:
- Slack Bot Token
- Slack Channel ID
This guide walks you step-by-step through creating a Slack app, generating a bot token, adding it to a channel, and obtaining the correct channel ID.
Step 1: Create a Slack App
Slack apps are used to interact with the Slack API and send messages programmatically.
Steps:
- Go to the Slack API website:https://api.slack.com/apps
- Click Create New App
- Select From scratch
- Enter:
- App name (e.g. My Notification Bot)
- Select your workspace
- Click Create App
Step 2: Enable Bot Permissions & Get Bot Token
You now need to configure permissions and generate your bot token.
Steps:
- In your app dashboard, go to OAuth & Permissions
- Scroll to Bot Token Scopes
- Add the following scopes:
chat:write(required to send messages)
- Scroll up and click Install to [THE NAME OF YOUR Workspace]
- Authorize the app (click Allow button)
After installation, you will see your bot token. Check OAuth Tokens section and click Copy button.
Example Bot Token:
xoxb-123456789012-123456789012-abcdefghijklmnoImportant: Keep this token secure. It allows full access to your bot.
Step 3: Create Slack channel
If you have existing slack channel which you wanna use – skip this step.
Go to channels and click the + button. Select a name for your new channel and press Next.
Now select the type of the channel (private or public).
Step 4: Add the Bot to a Channel
Your Slack bot must be invited to the channel before it can post messages.
Steps:
- Open your Slack workspace
- Go to the desired channel
- In the message box, type:
/invite @your-bot-nameOnce invited, your bot will be able to send messages to that channel.
Final Result: What You Need
At the end of this setup, you should have:
- Bot Token → used for authentication
- Channel name → used to target the channel
These values can now be entered into your plugin or admin interface to enable automated Slack messaging.
These values can now be entered into 0-day-analytics plugin or admin interface to enable automated Slack messaging.
Set the Slack in the plugin settings
That is 2 step process:
Step 1:
Slack Bot Token
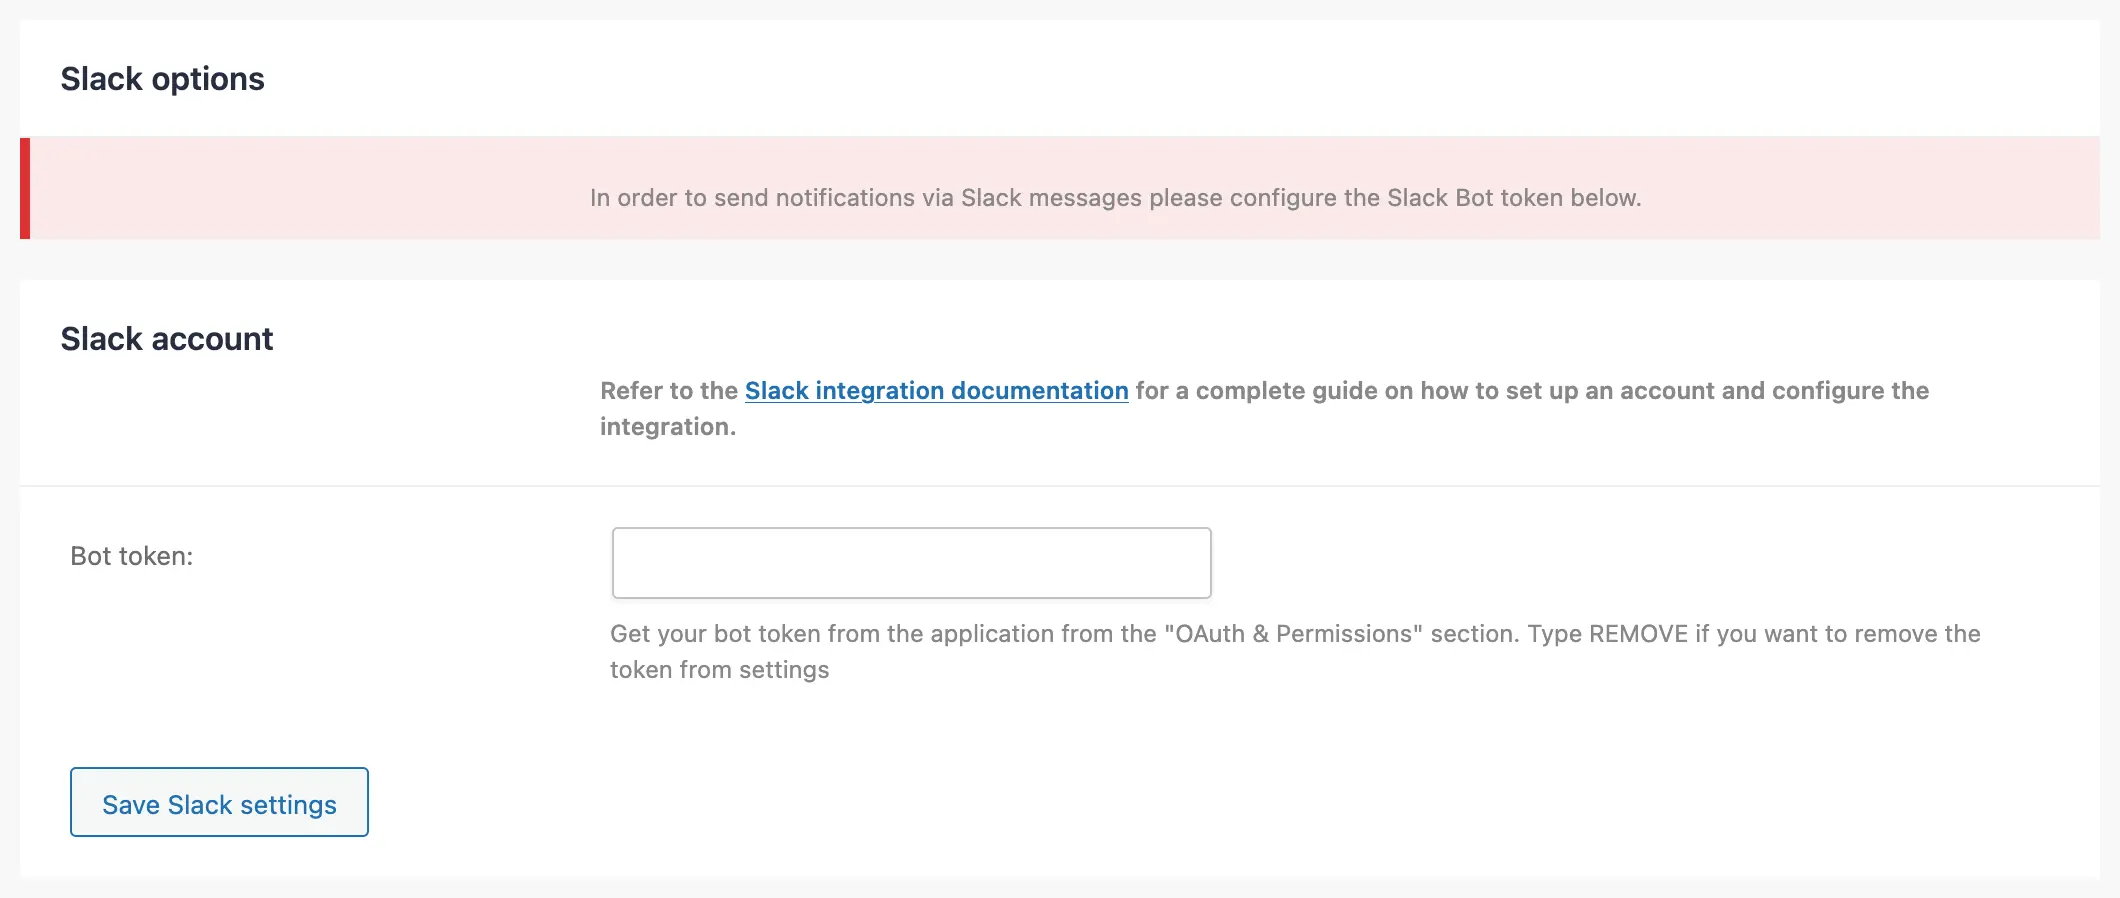
Slack Bot
Go to plugin settings, navigate to Notification Option (right hand menu), and find the Slack account section Slack Account sub section. Add the bot Token in the “Bot token”: input and press the button Save Slack settings button (below). Plugin will store the provided token info and will refresh the page.
Step 2:
Now in the Slack section now you will see another sub section Slack options section with “Default channel name” input.
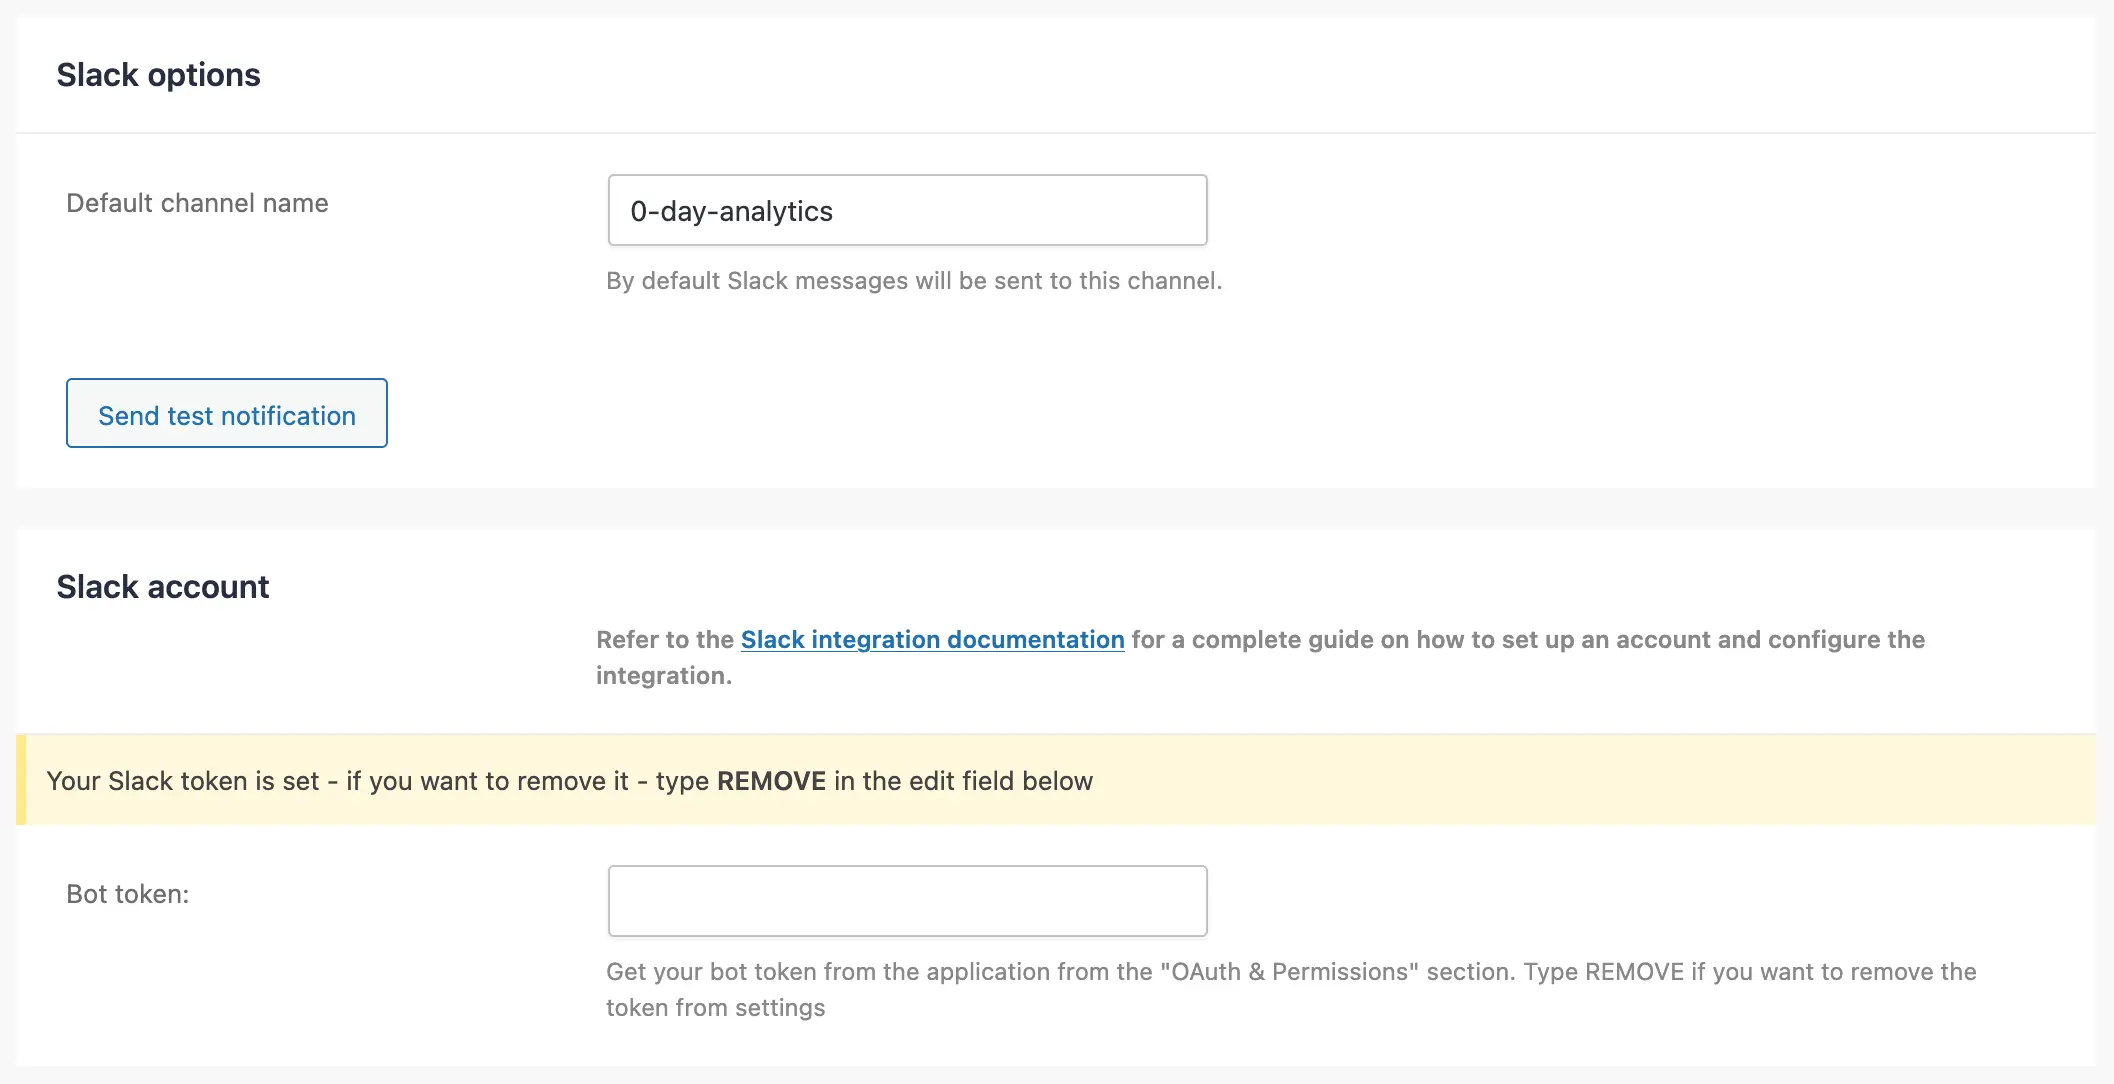
Set the Slack channel in the plugin
Put you channel name in there and then press the global “Save Changes” (don’t rush to press Send test notification before saving the changes (press “Save Changes” button first), as the plugin still don’t have your channel name at this stage) button (you can find it either in down right corner or upper right corner of the settings window). The plugin will store the settings and refresh the page.
Test if everything is working – Now press the “Send test notification” button and check your channel, there must be new message from the bot.
Plugin will sent only fatal errors to this channel, and will add a recovery link to the message, so you can safely get access to your WordPress site and recover it from the error.
Remove the Slack bot
Go to plugin settings, navigate to Notification Option (right hand menu), and find the Slack account section Slack Account sub section. In the “Bot token”: input, put the word “REMOVE”, and press the global “Save Changes” button (you can find it either in down right corner or upper right corner of the settings window). The plugin will store the settings and refresh the page.
Common Mistakes
- ❌ Not inviting the bot to the channel
- ❌ Missing
chat:writepermission - ❌ Using workspace ID instead of channel ID
- ❌ Exposing bot token publicly
Security Best Practices
- Store tokens securely (environment variables)
- Rotate tokens if compromised
- Limit scopes to only what you need
Conclusion
Setting up a Slack bot for automated messaging is straightforward once you understand how to correctly obtain both the bot token and channel name.
With these two values, you can integrate Slack into plugins, monitoring tools, or custom systems to send real-time updates and notifications.
FAQ
What is a Slack bot token?
A bot token is a secure key that allows your application to interact with Slack on behalf of your bot.
Why can't my bot send messages?
Make sure the bot has chat:write permission and is invited to the channel.
Is Slack API free?
Yes, basic bot functionality is available on free Slack plans.
Do I need coding knowledge?
No, you only need the bot token and channel ID if you're using a plugin or admin interface.
Comments (0)
Join the conversation. to leave a comment.